
Jelly Roll Sands - Free Quilt Pattern/Tute by Hugs 'n Kisses
If you follow me on Instagram, you may have seen some progress shots as I made this little quilt a week or two ago.
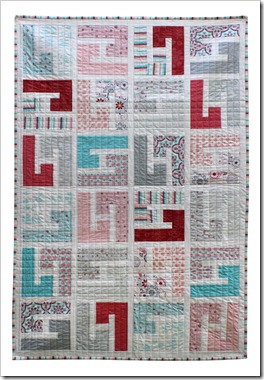
Well, it is now complete and I am pleased to say I have decided to do a free tute on it for you.
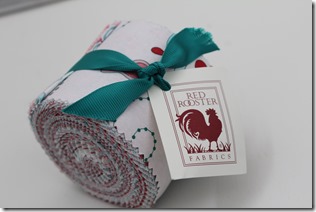
It started with this! A 2 1/2” strip set of Primrose Sands for Red Rooster Fabrics – available in Australia through Two Green Zebras, many stores may have these – if you cannot find one – I have some!
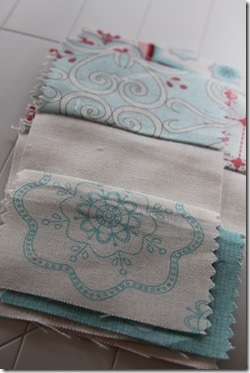
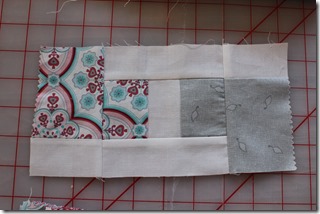
- and is based on this block I made up – don’t you think it looks like an ‘H’ for Helen? Or, others suggested, a chair… Anyway, it's simple and comes together easily.
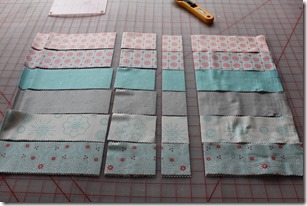
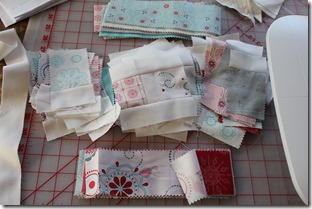
So we start by choosing 16 strips – there are 17 in the pack so choose which one to leave out.
Lay them all out at once on your cutting board. I left them folded (that's how they come on the roll) and layered them up to three in each layer approx.
Using your ruler and rotary cutter, trim off the selvedge ends evenly.
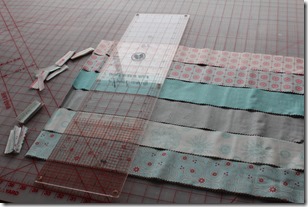
Then you are going to cut from the left of the strip:
8 1/2” 3 1/2” 2”
Then open out your folded ends and again stack them.
Cut from the left:
8 1/2” 3 1/2” 2”
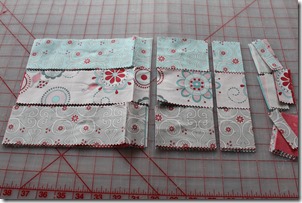
You should now have from each colour:
3 strips 8 1/2”, 3 strips 3 1/2”, and 3 strips 2”.
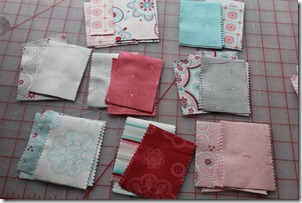
Each colour fabric will be in three blocks. So you need to take one of each size and match them up into pairs, eg.that is as in the picture below – I have paired the dark red and the stripe together – you can pair these three times or you can do a total mixup of colours.
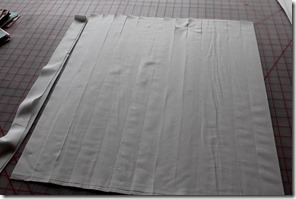
Next: your sashing fabric – I used white.
Cut 14 strips 1 1/2” x wof (width of fabric)
Now two choices here – you can either:
Cross cut them (in piles- as many layers as you can handle) to make:
50 strips 1 1/2” x 4 1/2”
75 strips 1 1/2” x 2 1/2”
Or simply sew together in the following manner:
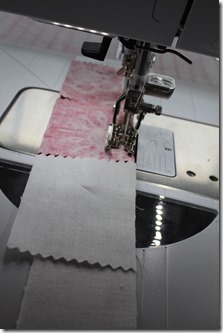
Take half of your coloured 2” x 2 1/2” strips (one fabric from each pair) – place them right sides together on a long white sashing strip (the longer – 2 1/2” edge is on the white strip). Stitch. Continue to chain stitch all of your pieces onto the long white strips. Trim them apart and press seams to the coloured fabric.
Now take the opposite remaining fabric from your pairs and sew in the same manner on the other side of your white sashing strip. Again press to colour.
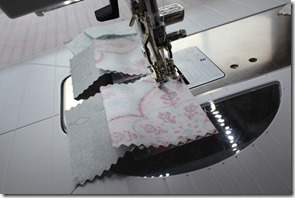
Next, you are going to stitch these units onto another long white sashing strip. Just chain piece them through again.
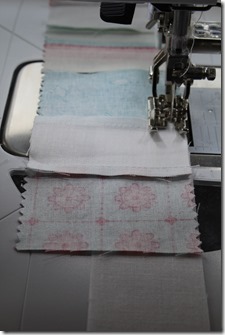
Trim them apart and press to the SASHING. Repeat this by stitching the other side of your unit to another strip of white fabric and press open to SASHING.
In the same manner as above, stitch the short end (2 1/2”) of every 3 1/2” colour fabric piece to a white sashing strip. Trim apart and press to colour.

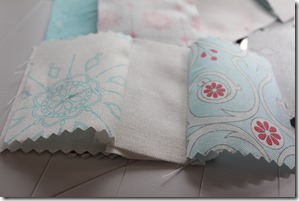
Lay all of your units back into their piles with matching pairs.
Attach a matching unit to the left of all centre blocks. Press open.
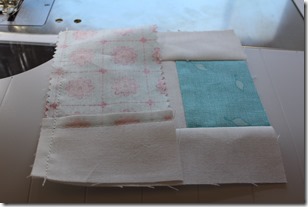
Make sure those seams line up - this should be easy if you have press as above as the seams will be mirrored.
Repeat with the matching unit on the other end. You now have 24 of these units.
Finally, you will add the 8 1/2” matching strips to the top and bottom.
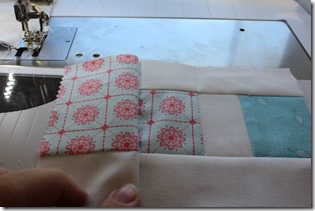
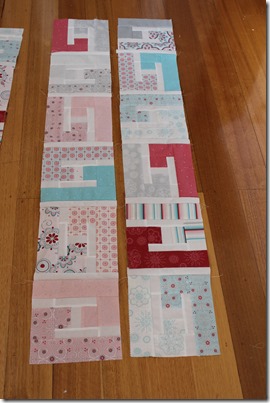
Next step is to layout all of your blocks out on the floor to decide placement. Each alternate blocks rotates 90 degrees.
Cut from white sashing fabric:
15 strips 1 1/2” x wof
Cross cut six of them to make 25 strips 1 1/2” x 8 1/2”.
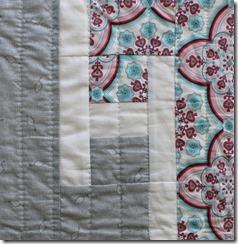
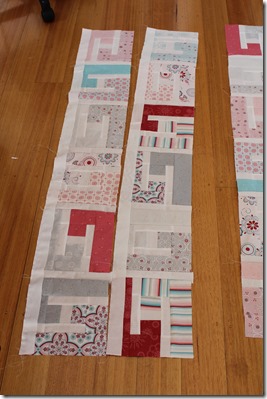
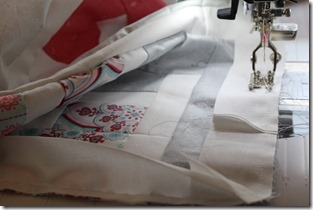
Join a white sashing strip between blocks as per the photo below. Press all seams to blocks.
Join the remaining strips together to make one long strip.
Attach strip to the left edge of your first row and trim off at the bottom. Take care not to stretch as you sew ( this is cheating, really we should cut the strips to length and pin every quarter to make sure we are not stretching either seam – if you’d prefer to do this they should mathematically be cut at 53 1/2”).
Repeat between all rows until they are sewn together into one unit.
You should have enough white strip left to attach to the top and bottom of your quilt top.
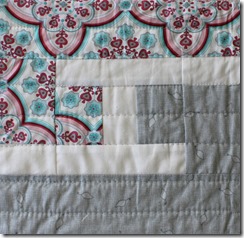
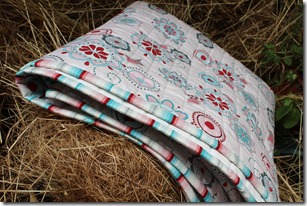
Tada, your top is done in just a few hours.. Now to layer and quilt – but that’s a whole ‘nother story…
Well I’m off to the Australian Quilt market in Melbourne tomorrow (trade show where we show all of our wonderful shops what we have new to order for you) – so I will leave you with this and tell them all to order their rolls whilst they are there for you.
I have some here - only $25 while stocks last – not on the website so you’ll need to phone or email Lori to bags one..
hugs for today – off to pack some clothes…
Helen
footnote: requirements for this size are:
One Primrose Sands 2 1/2” strip roll
75”/1.9m white sashing fabric
13”/35cm stripe binding fabric.
Quilt measures 37” x 55” / 93x138cm approx