
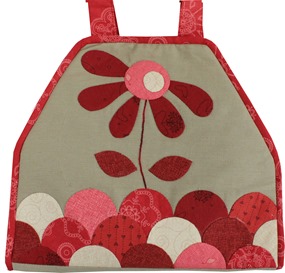
Clamshells - The Iron On Way
Clamshells using our EPP iron-ons are my next favourite shape. I am using them often and love the look. We have 2” precuts but there are other sized files for download here that you can print and cut from applique paper.
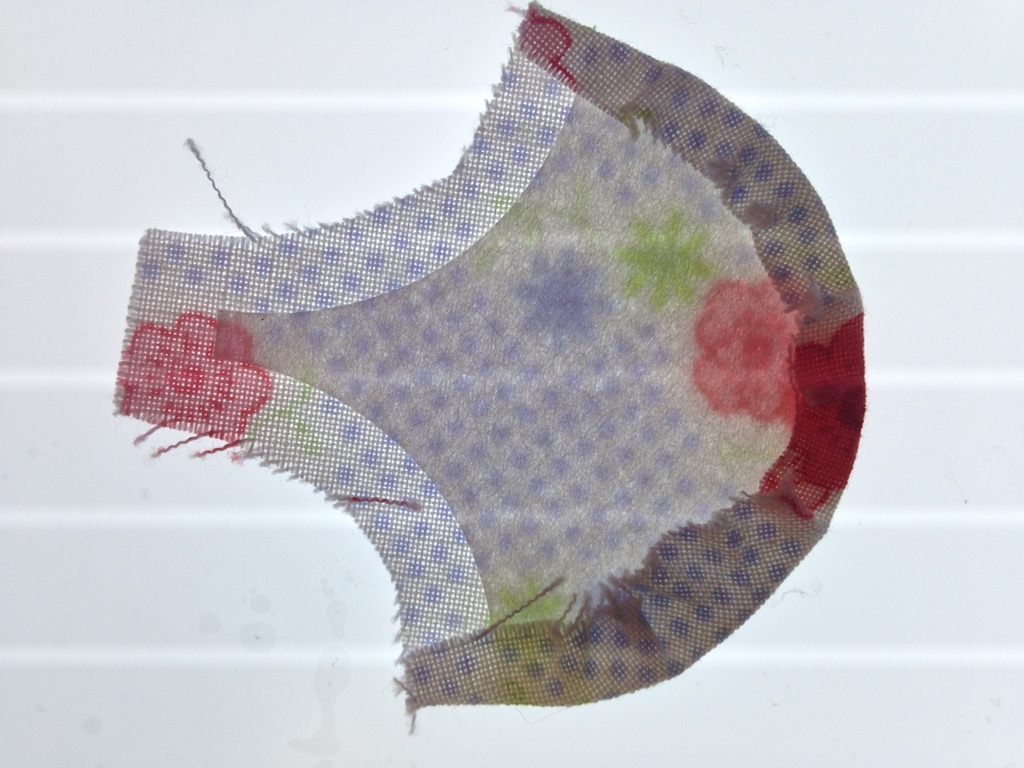
Fuse EPP iron-on to wrong side of chosen fabrics. Cut out, roughly leaving an approx 1/4” seam allowance on all sides.
Run a line of glue around the edge of the paper, around the top curved edge only. (Have the glue just inside the edge of the paper but no wider than the fabric seam allowance).
Use your thumb, thumbnail or a tool to turn over the edges onto the glue – turn small amounts at a time so you do not get pointy edge – you want a smooth curve.
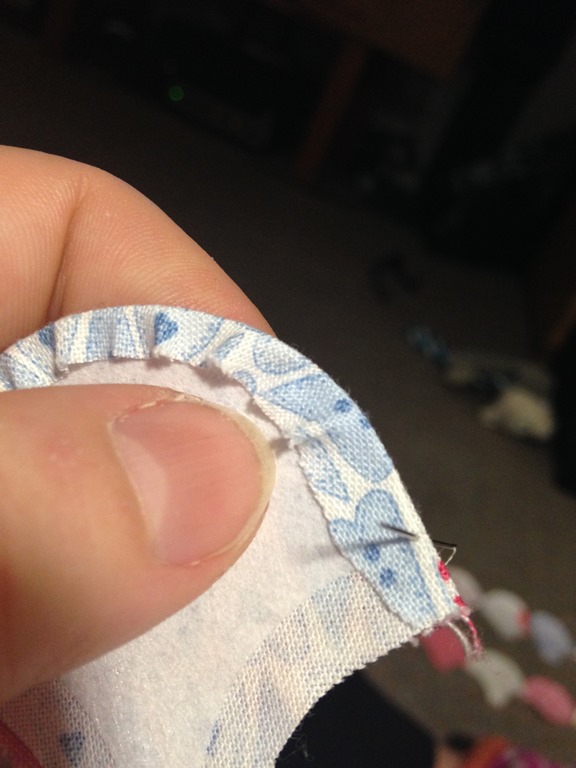
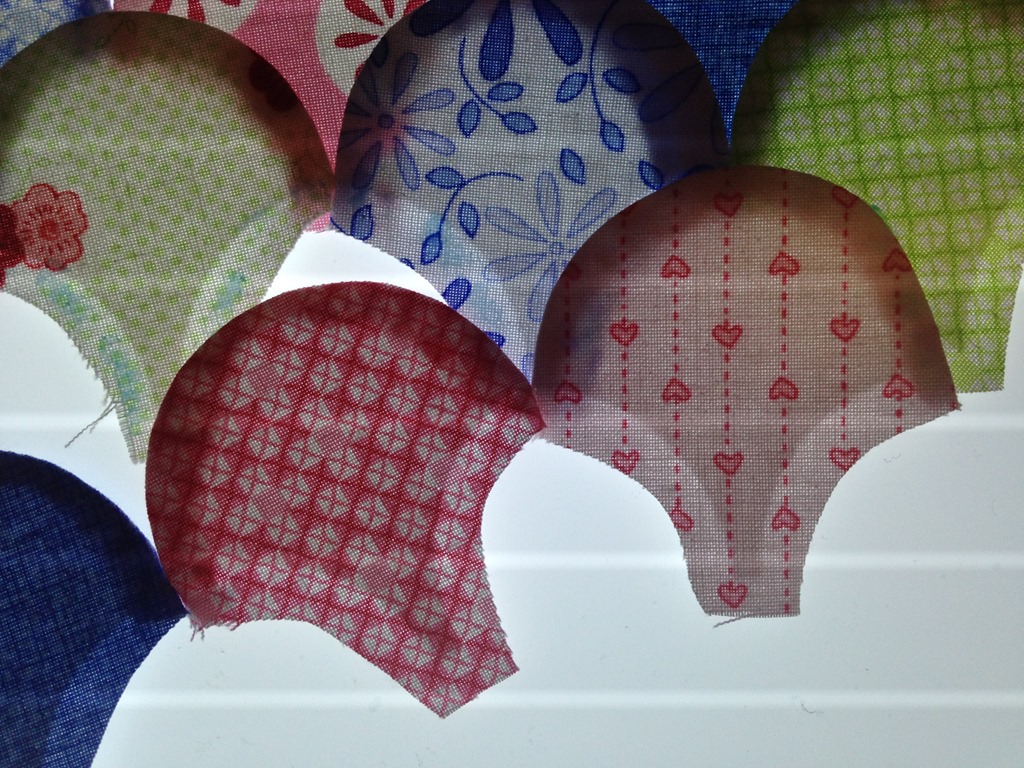
Place two right sides together, match the top curves and take one small stitch and tie where both paper edges meet. Just go through the fold of the fabric. Just a little catch stitch to hold together. Continue this to join your rows.
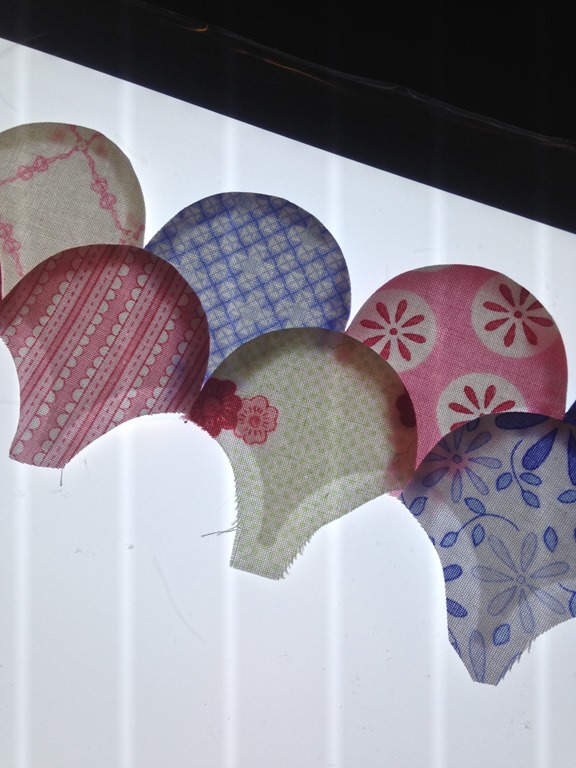
For the next step, I like to use a lightpad/lightbox.
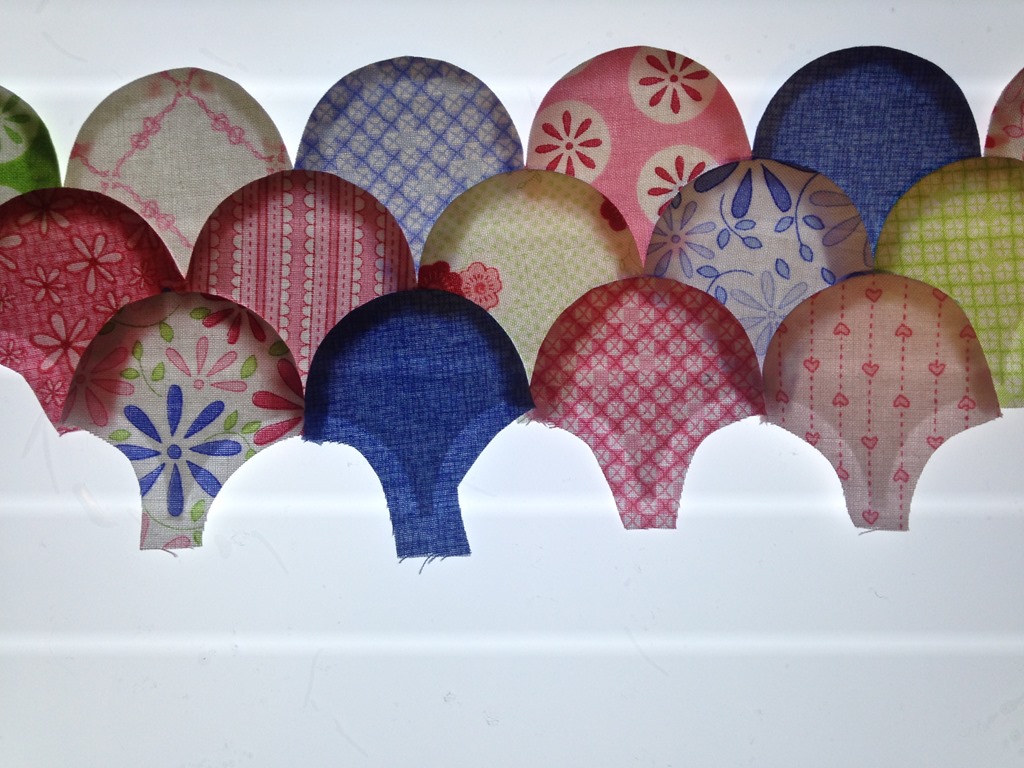
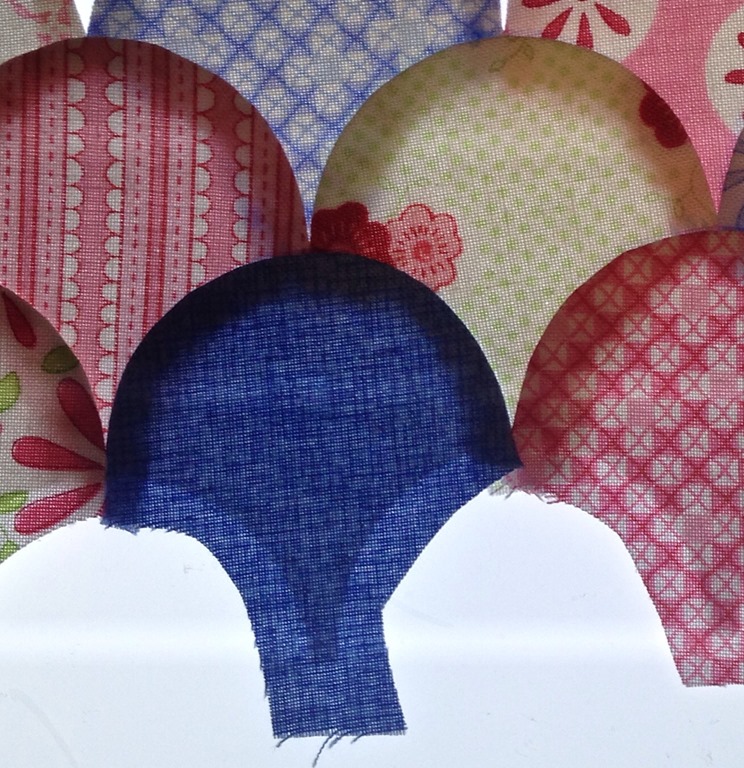
Position the top row first. You may need a straight edge to ensure this is sitting straight. Place the next row on top – the top of the curves should meet that little grab stitch but you can easily see through if using a lightpad so that the top row sits along the edge of the paper on the row below.
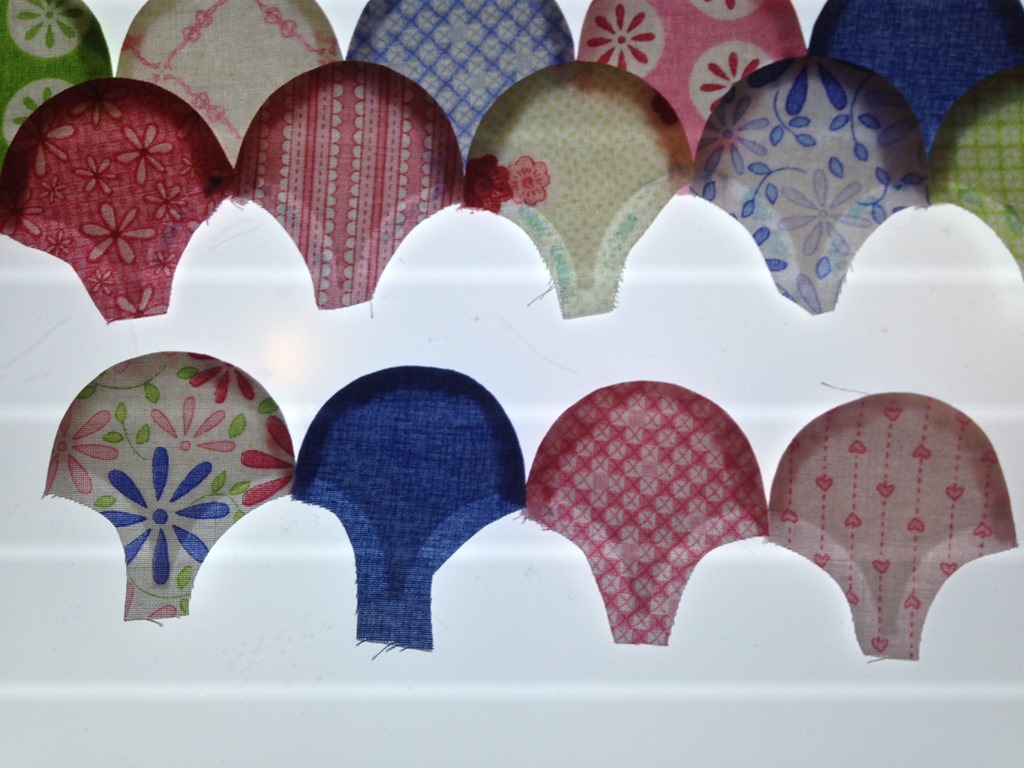
Glue around the seam allowances – or I prefer to use Roxanne’s Basting Glue and just use three little dots for each clam. Position the row on top and press to dry.
There are several ways you can assemble your clams depending on how you are going to use them. This version shows making a ‘piece’ of fabric from clams. You can glue up all your rows at once or do one pair at a time.
You will then use a Hugs ‘n Kisses applique needle and fine thread to ‘applique’ along the top of each row using your blind applique stitch. Of course you could also do this by machine using a blending or monopoly thread as you don’t need to remove these papers, remember?

Another way to assemble your clams is to position, glue and assemble them right onto your background fabric – particularly if you are only done one row or a small motif.
Checkout some more clamshell inspiration on my Pinterest board.
hugs for today
Helen