
1st Stitcher's Angel Project by Helen Stubbings of Hugs 'n Kisses
Okay, that wasn’t too long to wait was it?
Requirements:
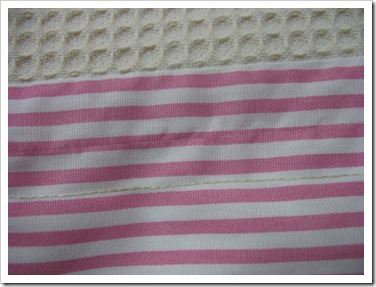
20” x 20” lining fabric
6” square extra lining fabric
4” square stitchery fabric
4” square fusible pellon (very light weight batting) – optional
60” / 1 1/2m 1/2” wide ribbon
one Presencia Finca #16 perle thread OR 2 strands of a DMC stranded cotton
general hand and machine sewing supplies
Here's how:
Download Helen Stubbings' Stitcher's Angel Project 09
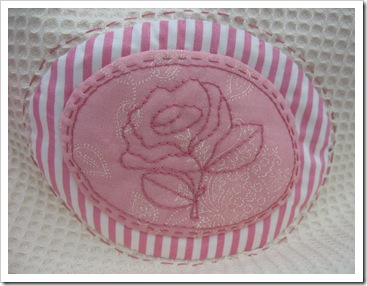
Download the pattern sheet above and trace the rose design onto the 4” square of stitchery fabric using a light box and soft lead pencil.
Fuse the pellon or other chosen stabiliser to the back, place into your embroidery hoop and stitch on all of the traced lines.
Trim seam allowance to 1/4” from the running stitch line, turn under and tack into position the edges approx 1/8” from the running stitch line.
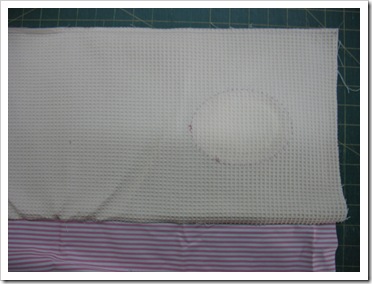
From the design sheet, make a template of the large oval and mark this onto your 6” extra lining fabric using a blue washout pen or a ceramic pencil.
Position your stitched piece into the centre and blind stitch (appliqué) into position.
Remove the tacking stitch. Now trim and turn under the edges of your oval piece to the marked line. Again, tack or press.
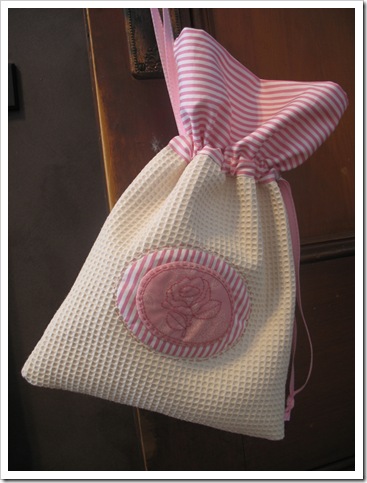
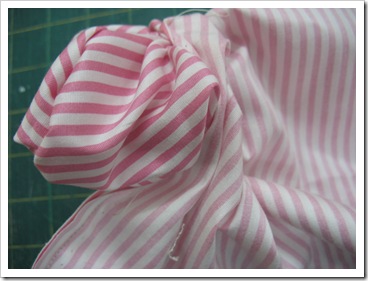
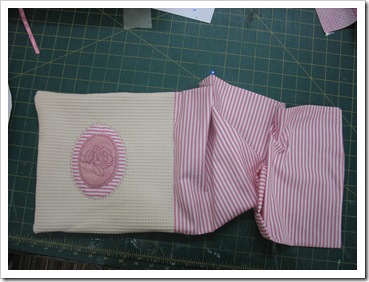
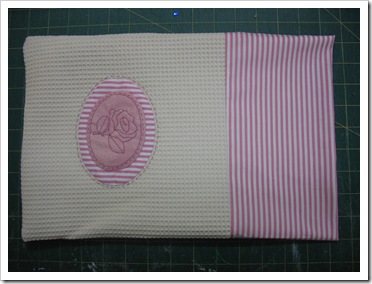
Position your stitchery onto the background bag fabric approx 2 1/2” from the left edge and 3” from the bottom (when you fold it in half you want it to be in the centre of your bag).

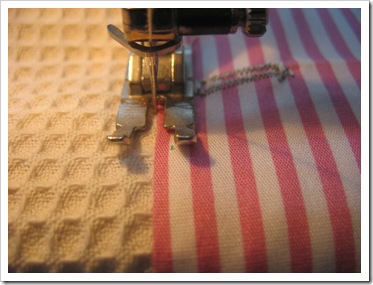
Again, appliqué on and remove the tacking stitches. Stitch a running stitch around the outside through the bag fabric.
Place your bag piece right sides together with the lining piece and stitch along the long edge across top.
Press the lining away from the bag.
Fold in half and finger crease a mark at the fold where the seam is.
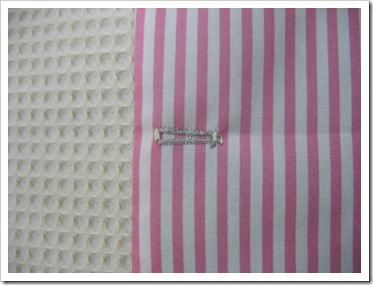
Open out and stitch a buttonhole using a matching thread (I have used grey so you can see it) approx 1/2” above the seam line in the lining fabric. Cut the buttonhole open now.
Fold the whole thing in half and pin match where the seams meet.
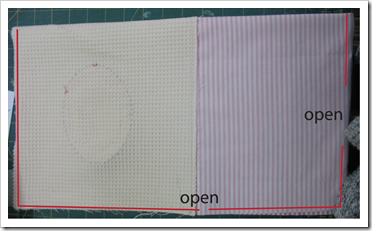
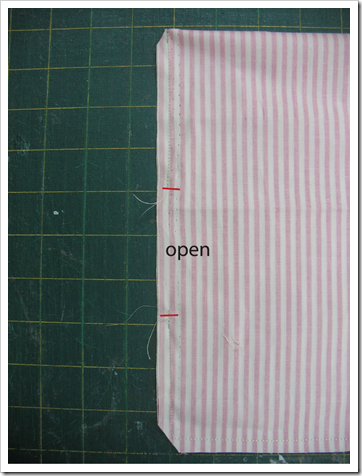
Stitch from the bag end across the bottom, up the side until you reach the lining fabric. Leave a small 1/2” opening in the lining then continue stitching along the side, and across the bottom of the lining fabric. Leave a 3” opening on the bottom edge of the lining fabric.
Trim the corners and turn the bag through the bottom opening and slip stitch the opening closed.
Press well and push the lining into the inside of the bag. Push the corners into the inside corners and smooth out so both layers are flat. The excess lining fabric forms the top of your bag. Press well.
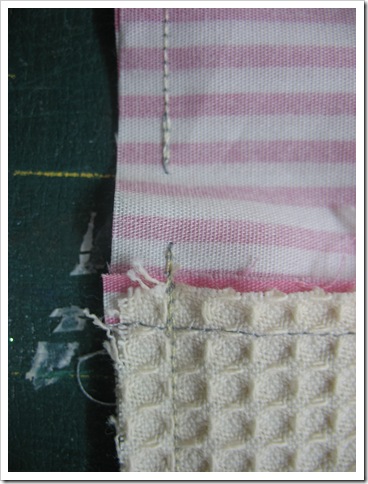
Place the bag over the freearm of your sewing machine and with a matching thread, stitch in the ditch between the bag and the lining fabric.

Now stitch another row of stitching across the top of your buttonhole approx 3/4” from the first line.
Cut your length of ribbon into two equal lengths. With a safety pin, thread one piece through your button hole, right around the bag and back out the buttonhole. Repeat this with the other length of ribbon passing it in and out of the opening on the opposite side of the bag. Tie the two ends of each ribbon together in a knot and trim the ends nicely. Pull both ends to gather and close your bag.
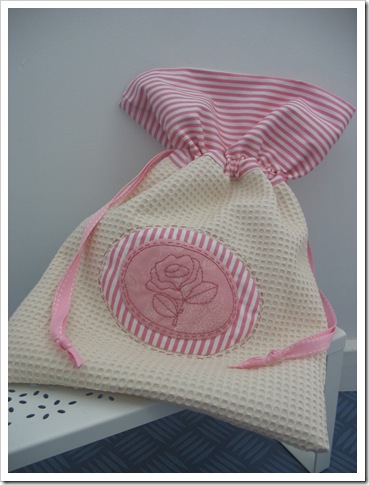
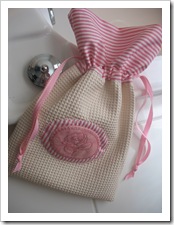
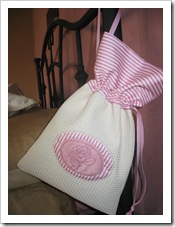
You are done! This gorgeous romantic bag could be used in your bathroom to hang lovely scented soaps or crystals, on your bed, a stocking bag, a stitching bag, a gift bag, a lingerie bag, we can never have too many little bags like this….and this is so simple to stitch and make. You can make one for your whole gift list this year. And of course, one for your angel partner.
hugs from mother angel…
Helen