Tune in to Live@7withHelen Thursday nights at 7pm on Facebook and YouTube for great deals, demos, sneak peeks and more.

Iron On Transfer Tutorial by Hugs 'n Kisses
All of my Hugs ‘n Kisses stitchery and embroidery patterns include wonderful, easy to use iron on transfers…this saves you having to trace my little detailed designs onto fabric using a lightbox or window – yes, you can get straight into the fun part- the stitching! and because all of those little drawn lines and details in the design transfer exactly onto your fabric your stitching – if you just follow the lines, will also look perfect! no wobbles, missed bits or mistakes…
Another plus of iron on transfers is that you can choose whatever fabric you like to put them on – you are not restricted to fabric that I used to screen print on in my pattern packs.. and yet another plus is that my iron on transfers (and I gather most others) can be used more than once!! so you can make the same thing many times if you really love it…
BUT, they are only good if you follow the instructions and transfer them well, so a quick tutorial covering everything that I can think of…
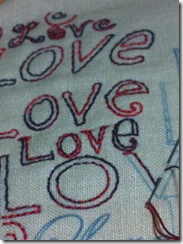
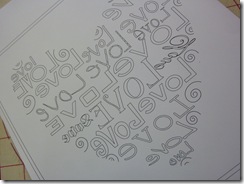
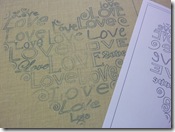
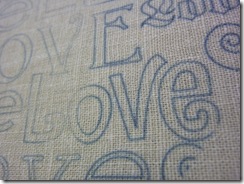
Firstly, the transfer will look just like a drawing or design printed on standard copy paper. The lines will look black on the paper and will be very fine (because I computer trace them and make them as fine as I can so a single thread can cover them). When they are transferred the colour is actually called a quilters blue – a greyish blue colour which blends well under many coloured threads.
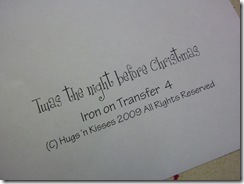
My transfers will always have a label on them which will say something like ‘I heart you iron on transfer’ as opposed to ‘I heart you design sheet’…..
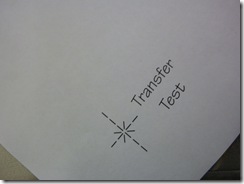
And there should also be a little ‘transfer test’ patch on there somewhere.
Another clue is that the design will be reversed – so if there is any text, it will be back to front….
Always make sure you have the right sheet – that is the transfer and not the design sheet (I always include both – so when your transfer does run out you can still trace more if you really want to make more).
Now, all of the ink on the transfer page is transfer ink. So if there is anything on there that you don't want on your fabric – like the title, and the test patch – you need to cut it off! (remember, use paper scissors to do this!)
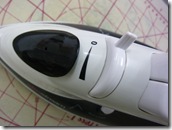
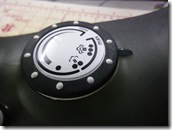
You also need, a good hot iron with no steam – turn the steam off and empty any remaining water from the iron – steam is your enemy!!!
Why? Because steam spreads your ink and makes blurry lines…
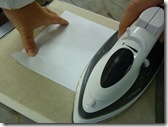
and a hard ironing surface – not a nice soft and spongy ironing board. Make yourself a board – just a piece of wood with some wool batting or an old woollen blanket works well or I use my hard Quilters cut n press for small designs.
Why? Because soft and spongy makes blurry thick lines…
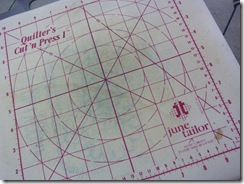
(This is good as sometimes I can see the lines through the fabric to line up my design squarely) – note: can you see all the transfer lines on my mat – yes sometimes they go through so don't do it on your brand new ironing board cover from Aunt Mavis!
Cut your fabric to size – I always cut a little larger than needed and trim back later…
Press the fabric to remove any creases…. if its already smooth still press it and warm up the fabric – prewarmed fabric takes the ink much better.
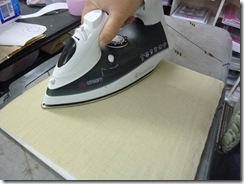
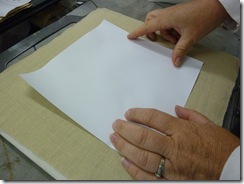
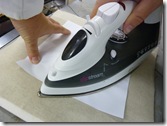
Position the cut out transfer design into position ink side down onto the fabric. ( I cut it out close to the edge of the design so I can position more accurately knowing where the edges of the design are.)
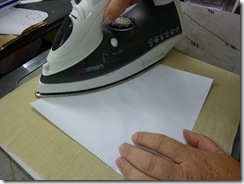
Place the iron flat onto one part of the paper. Hold a corner down away from the iron with a finger, hold in position for about 7-10 seconds ( this will vary depending on your iron and also the fabric you are using – that's why i include the test patch – test first!) the longer you hold the darker your design will be – but the less transfers you will get from your sheet – as the darker it is, the more ink you have used…and there is only so much on there..
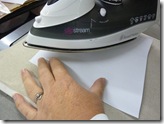
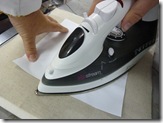
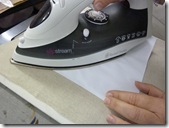
Now, don’t slide the iron across the paper to the next spot!!
Yes, that's what everyone wants to do – but you will blur your lines…. believe me… please…. whilst holding the paper down with that finger lift the iron and position it down into the next spot… move your finger to another corner and repeat until you have covered the whole design… note: if you don't hold the paper down, when you lift the iron it will stick to it, lift off the fabric and you will never get it back down in the same place again….

Before you lift that last finger, carefully lift the corner to check that it is dark enough and you have all bits covered….
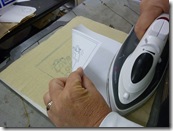
It is nigh on impossible to reposition the transfer once you have lifted or moved it – so get it right the first time…
I get many questions regarding the iron on transfers so before you ask I’ll attempt to answer them below:
Do I need to prewash the fabric? - although I say on the instructions to prewash the fabric – I don't very often do that!
What type of fabrics do I have to use?
Some fabrics take the ink better than others, some linens are difficult, but overall most things work. It doesn't have to be a plain fabric, tone on tones also work well. The ink will transfer onto synthetic and natural fabrics but if using your piece in a quilt I recommend using a cotton fabric.
Will the ink wash out when I am finished?
This ink is permanent if there is any synthetic element to the fabric. It may wash or fade out of natural fibres (ie cotton) but this has very rarely happened for me so don't rely on your mistakes and blurry lines washing out – they wont – if its a mistake it wont be nice and just wash out for you! I have found it to fade on some fabrics when left in light areas, so if you don't intend using it for some time keep it stored in a dark container.
Having said that, now that you have read my little tutorial you are going to transfer them perfectly every time…. and if you have an elna press – that will eliminate any need to move that iron and risk the double or blurred lines at all.
How can I make my own Iron on transfers? my transfers use a special and VERY expensive ink so at this time it is not affordable or available for home use. However there are other products available such as transfer eze, transfer pencils and several other products I have heard of but never tried. I do have a transfer printing service I offer to other designers and stores but it is also not viable for single prints at this time.
I hope that this helps you all to get a great result with your transfers…. so that you too ‘love’ them….
off to stitch….
hugs, Helen